Hello There!
You have decided to start your sublimation business? Hooray! Welcome to the club Padawan, grab your complimentary tea and biscuits and grab yourself a seat. Let me try and help you get set up.
If you haven’t already, have a read of my posts: ‘Sublimation or Vinyl? Which is Best for Me?’ And ‘What on earth is sublimation and why is it awesome?’ or we can go ahead and dive straight into it.
My favourite chocolates are Guylian or Lindt chocolates. I am happy to accept these as thank you gifts 😛 😉
*Please note: I haven’t been asked to promote or sell items that I mention on this page. These have been purchased based on personal research. Please do the research to find the right equipment for your*
What Do You Need to Start Your Sublimation Business?
- Sublimation Printer & Paper
- Heat Press
- Heat tape
- Baking paper
- Blanks
The Sublimation Printer
To start your sublimation business, you will need to print your designs out. You need a sublimation printer. I have the Epson SureColor F100. One of the few printers out there that are recommended for sublimation printing. What’s great about this printer is, at the front, you can see the actual ink levels. It came with instructions that look like it is guiding you to Mount Doom. Despite my initial concerns, setting up the printer was a breeze. And the fact that it included 4 ink bottles meant that I could start printing right away without any delays.
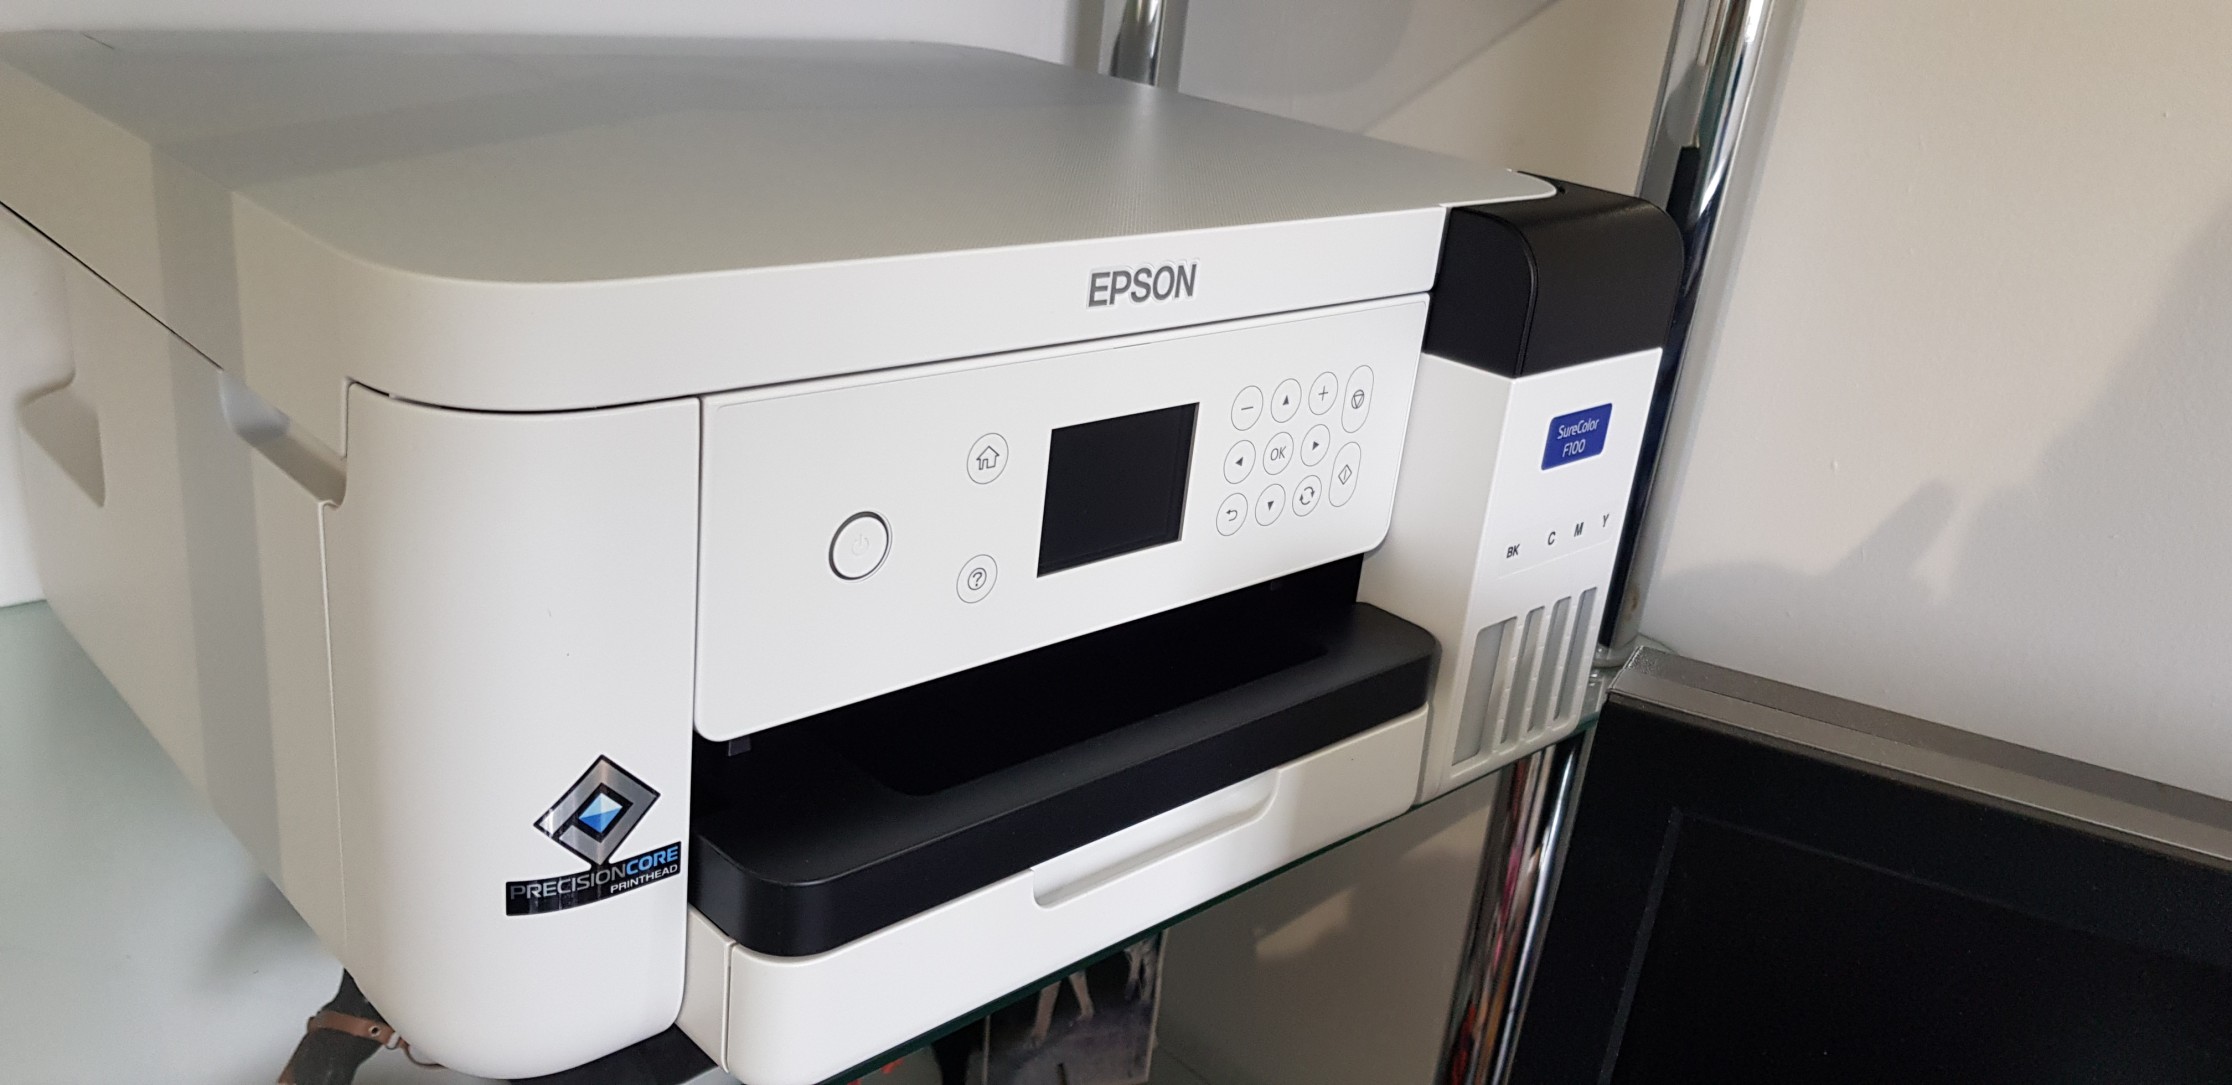
When working with sublimation printing, it is important to remember that regular ink will not work. Sublimation ink is specially formulated to transfer onto polyester fabrics and other items through the sublimation process. Regular ink will not have the same vibrant, long-lasting results as sublimation ink. Therefore, it is essential to use ink specifically designed for sublimation printing in order to achieve the best outcome for your projects. I recommend getting a decent sublimation printer, there are a few available, not just the SureColor.
As for printer paper, again you need to use paper made for sublimation printing as regular paper just won’t work. There are a couple of brands that are available. And you can get sample packs of paper to try out to work out the best for you.
Multifunctional Sublimation Heat Press Machine
This came with various attachments that aren’t in the picture. You can just see the mug and clam press along with the control box. You don’t need a whole lot of attachments to start with, you can get by with the mug and clam press.
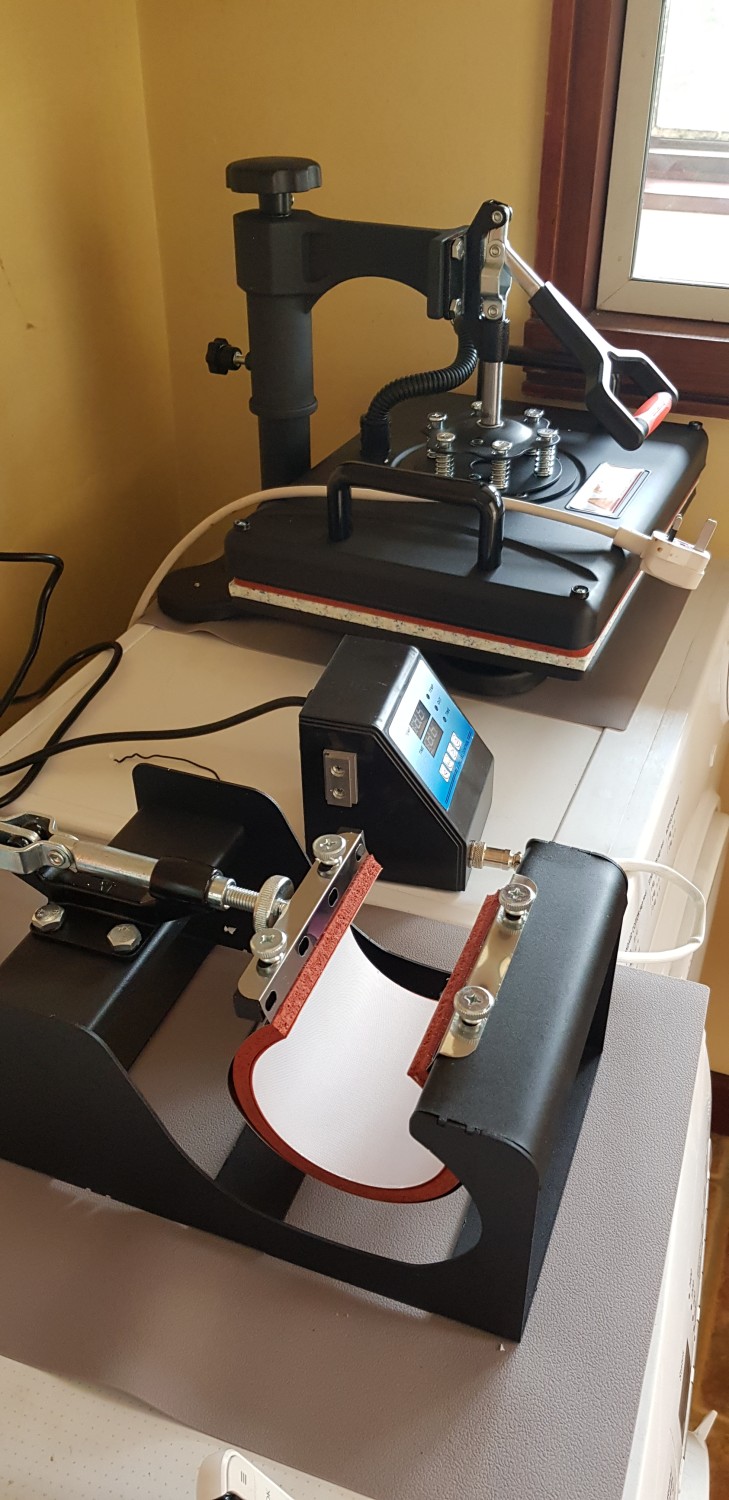
I bought some heat proof mats from Amazon for extra protection for the surface the presses sit on; however, the machine and attachments are already heatproof.
Additionally, heat tape helps to prevent shifting or movement of the paper during the transfer process. This is crucial for ensuring that your design stays aligned and consistent on the blanks. By securely holding the paper in place, heat tape contributes to the overall quality and precision of the heat transfer results.
You will also need baking paper. Don’t worry I don’t need a showstopper bake (all though I do like a bit of cake) Baking paper helps absorb any ink that might seep through the paper when it is heated up. You don’t want any ink getting onto the press as it will transfer that ink onto the next design.
How Do I Know What Pressure, Time and Temperature to use?
Good question. Most sublimation blanks suppliers will give a guide in their product description of what pressure to use, how long to press for and at what temperature. However, note that these are guides, and you may need to adjust your time or pressure accordingly. In the beginning, this can be very much a trial and error process as each press will be slightly different. Nevertheless, once you have it figured out, it’s a breeze.
Sublimation Blanks
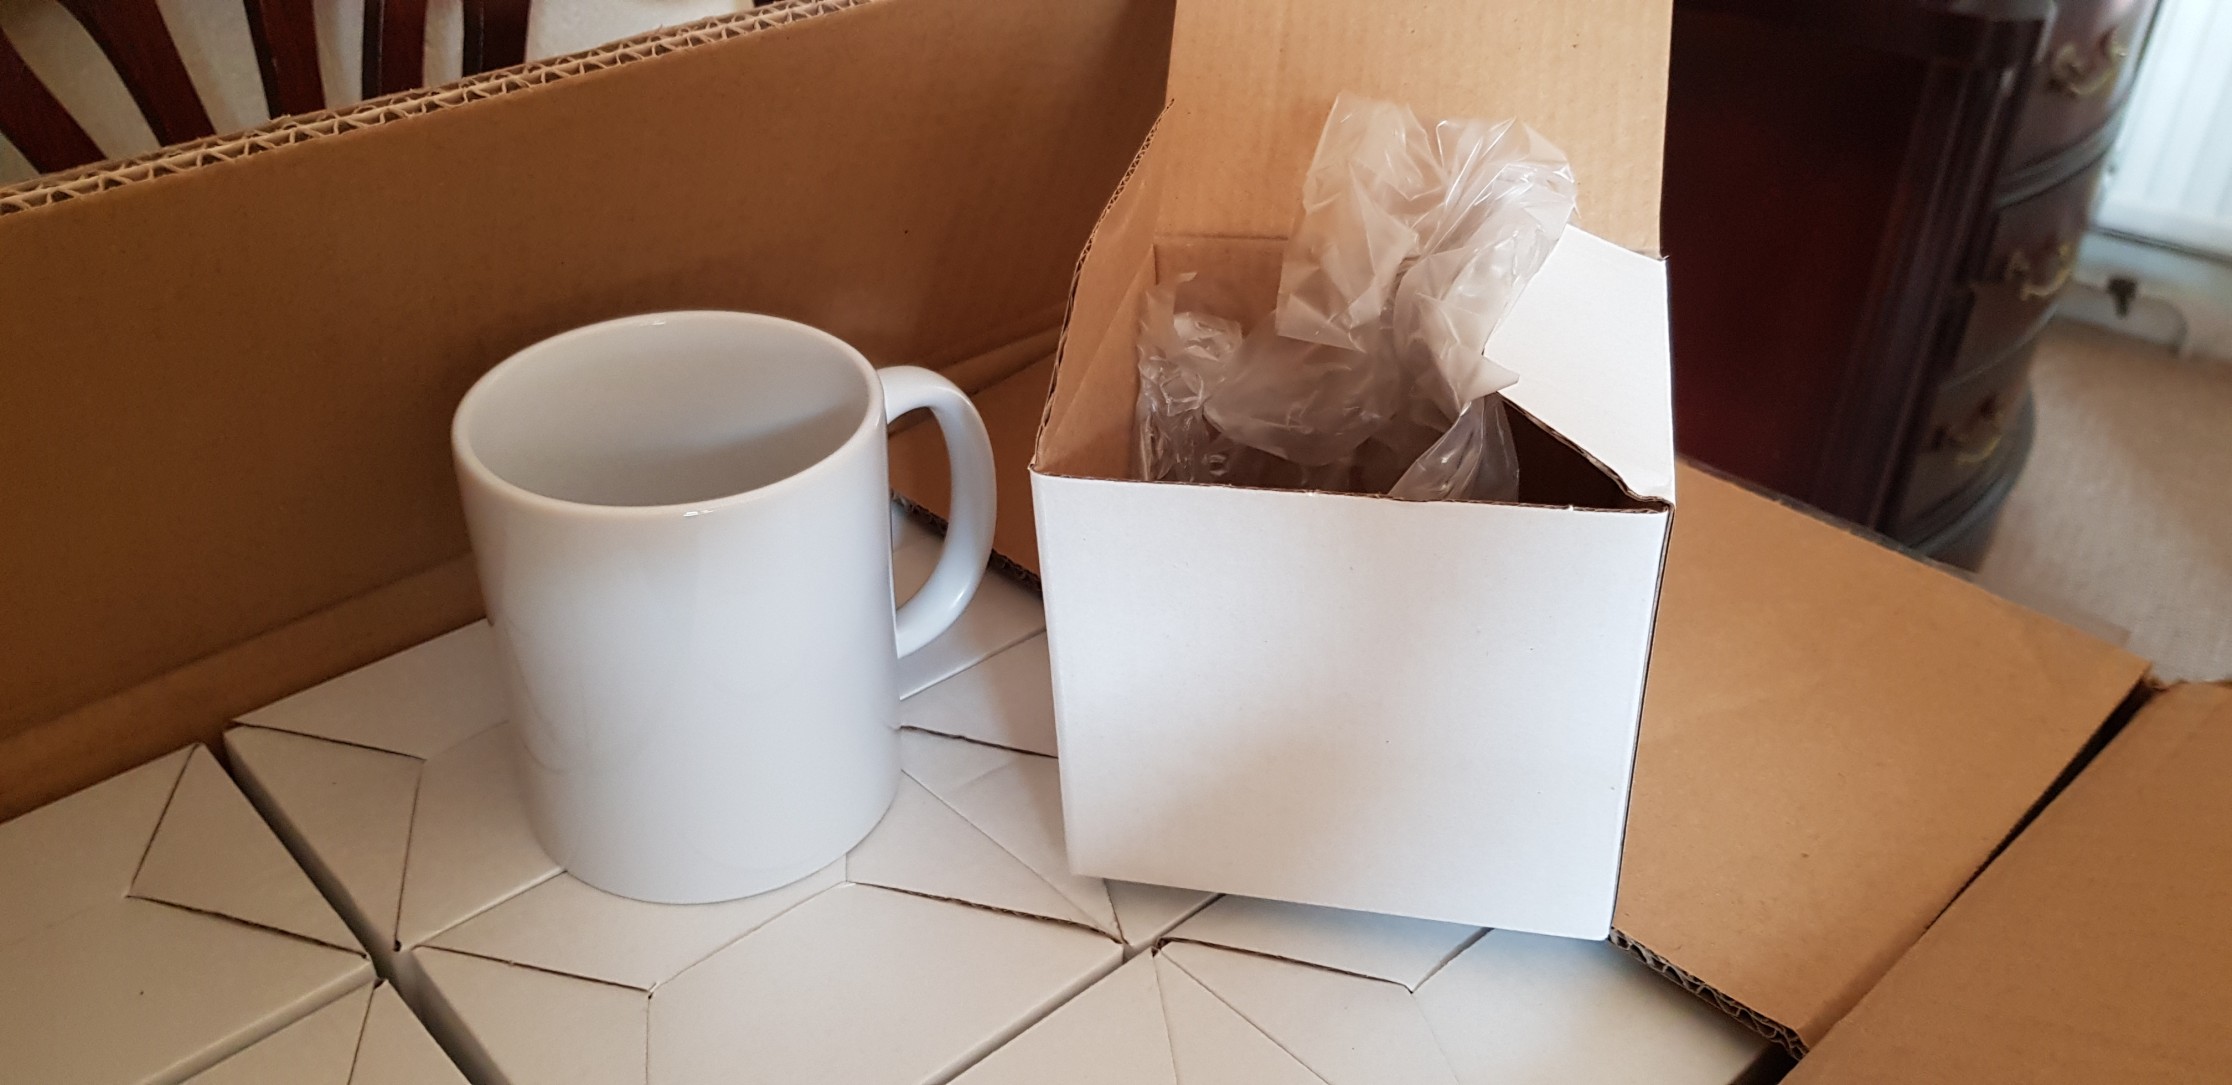
Mugs are the best starting point in my opinion.
These are standard 11oz mugs with an orca finish (I believe this is to do with how shiny/matte the mug surface is) . I hope you really need some mugs as you will go through a few as you practise using the press and trying out designs.
And there you have it. Your basic guide to the equipment needed to start your sublimation business. You are well on your way to becoming a sublimation Jedi.
Stay tuned for more detailed information in Part 2 of this series, where we will delve deeper into the topic. If you have any specific questions or would like to share your thoughts, feel free to leave a comment below or reach out to me through the contact page. Your feedback is always valuable and helps shape future content.


Leave A Comment