Hi Guys!
I am going to try something new, I am going to try and do a video.
Yeah, I’m scared too. I used to create educational and how to videos before I fell pregnant, I am therefore hoping to transfer some of these skills and knowledge into creating this video.
I will also transcribe the video so you can choose your preferred learning method. You will also find the template I use at the bottom of this blog post, free for you to use.
Time to take a deep breath and dive in.
The Video
How to Sublimate a Bookmark
I get my bookmark blanks from Blanks Sublimation. And I highly recommend them. Michael & Charley are very knowledgeable on sublimation, and on their products. And are always happy to help if you have any issues.
It is really important to buy from a reputable supplier, you could end up with products that don’t actually work for sublimation and you could end up losing money.
Now, let’s get started.
- The obvious first step is to print off your design. This bookmark has a front and back design. Once printed off I separate the front and back designs, this makes it easier to press.
- I then start heating the clam press. On the suppliers website they will have a suggestion on press settings. These have worked for me so my settings are 185 degrees and time is set to 55 seconds. Each press is different but when starting out these settings is a good starting point.
- As a side note I have a cheat sheet tapped above the press with all my settings for each product. I just don’t have the brain space for all of this in my head so I had to write it down.
- While the press heats up I will prepare my bookmark. Now these bookmarks have a plastic film on both sides so make sure you get this off before pressing. If you don’t you will ruin the bookmark and your house will smell of plastic.
- Now I align the first side onto the sublimation paper with my design and secure it with heat tape. I tend to make the design slightly bigger than the bookmark, just to be sure the design covers the entire face.
- Now the press is up to heat it’s time to press. I use an old MDF board for bookmarks and aluminium sheets. This helps prevent the metal from bending in the heat. I then put down a sheet of baking paper, then the design goes on with the paper facing up and then another sheet of baking paper on top to protect the heat plate from possible ink seepage.
- Once the countdown is done you can remove the bookmark. Allow it to cool before handling as it will be roasting hot. And just to show how hot it is I am going to use a temperature gun on the metal.
- Once cooled enough to handle, remove the heat tape and paper and repeat the process for the other side. Make sure to use fresh baking paper as it will end up affecting your design, here is an example of what happens when you don’t use clean baking paper.
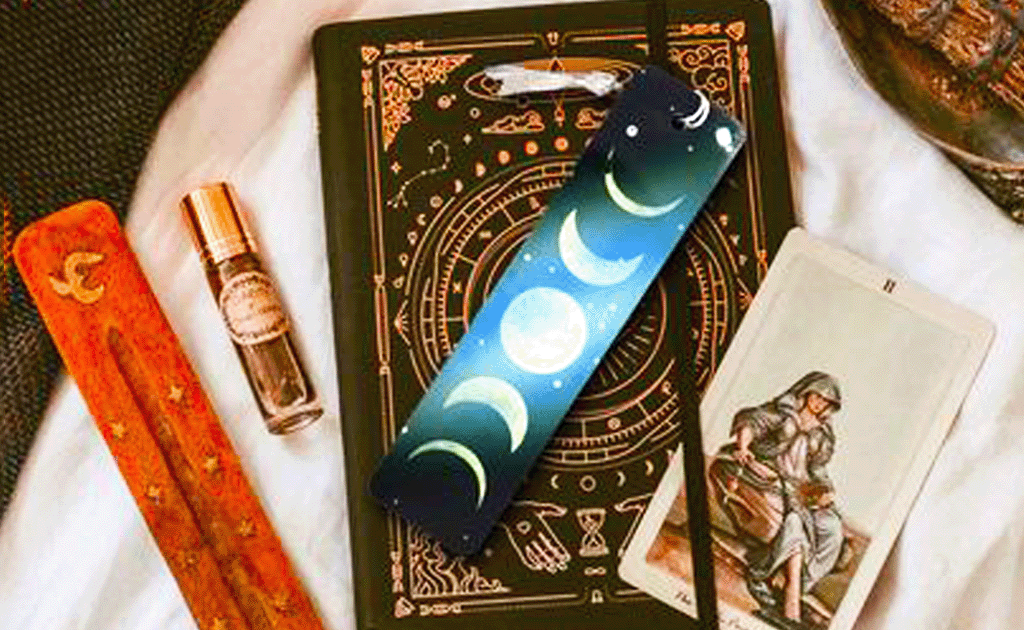
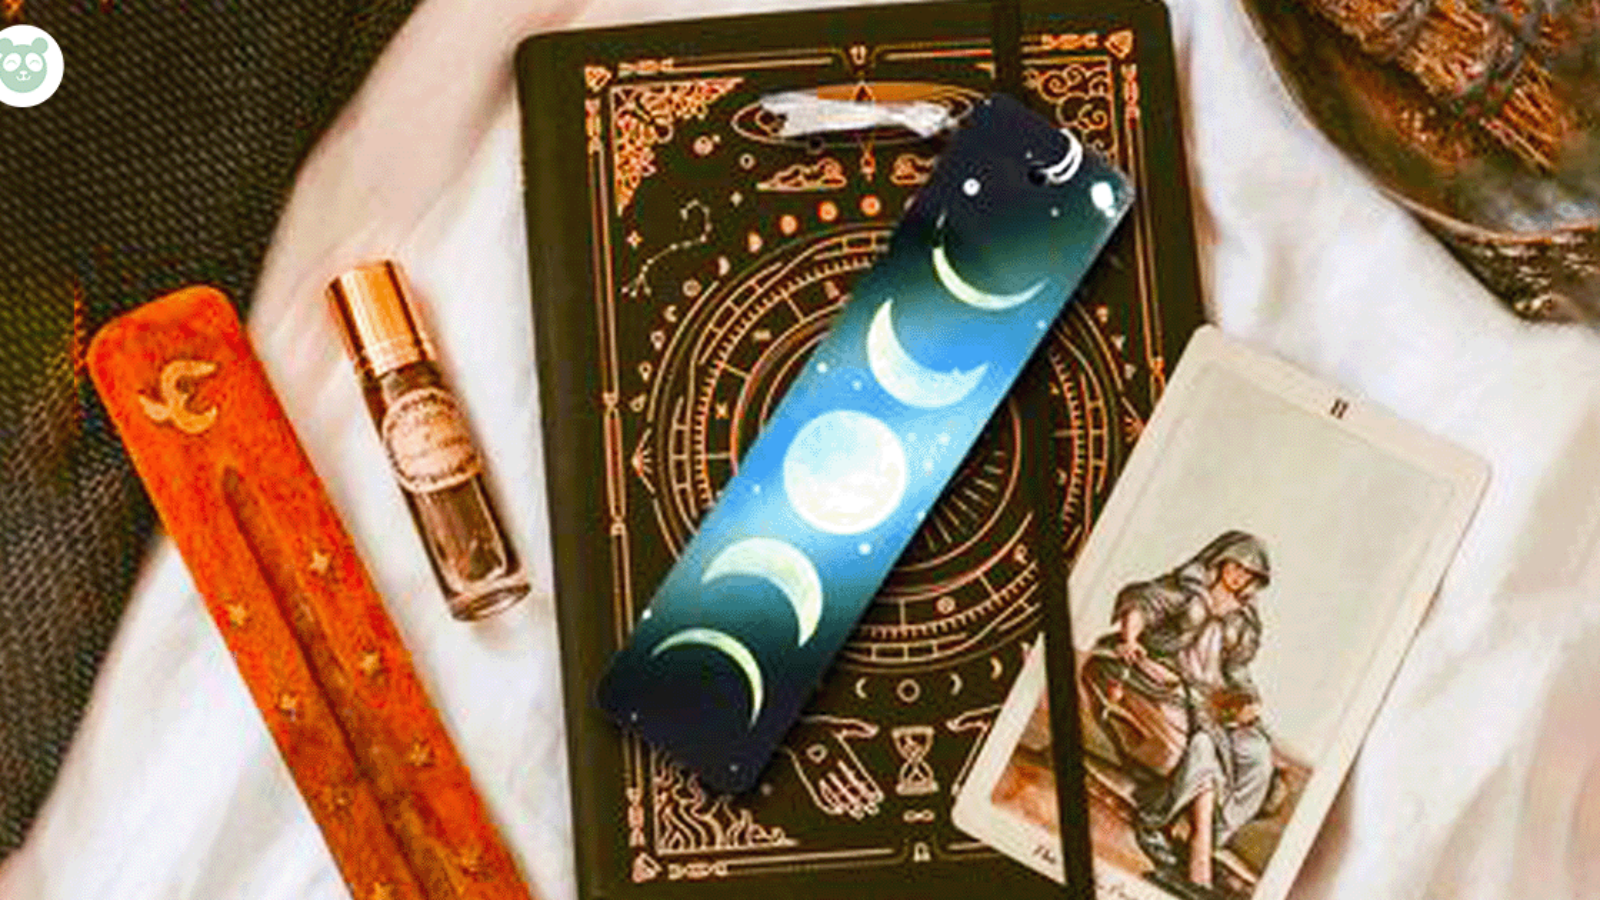
- Add your tassel and vola. You have sublimated a bookmark.
It’s as simple as that and the designs you can have are endless. I hope you have found this helpful. Please follow me on social media or leave a comment below.
The Template
The Conclusion
Well, I hope that was helpful. Please let me know what you thought about this tutorial in the comments below.
I am also on social media so please feel free to follow me using the links below.
Until next time, stay cool.


Leave A Comment