Product launches is a major part of running any product-based business. It can be exciting but nerve-racking.
So, how do you plan a product launch without losing your mind? Let me share with you my step-by-step guide to how I do it.
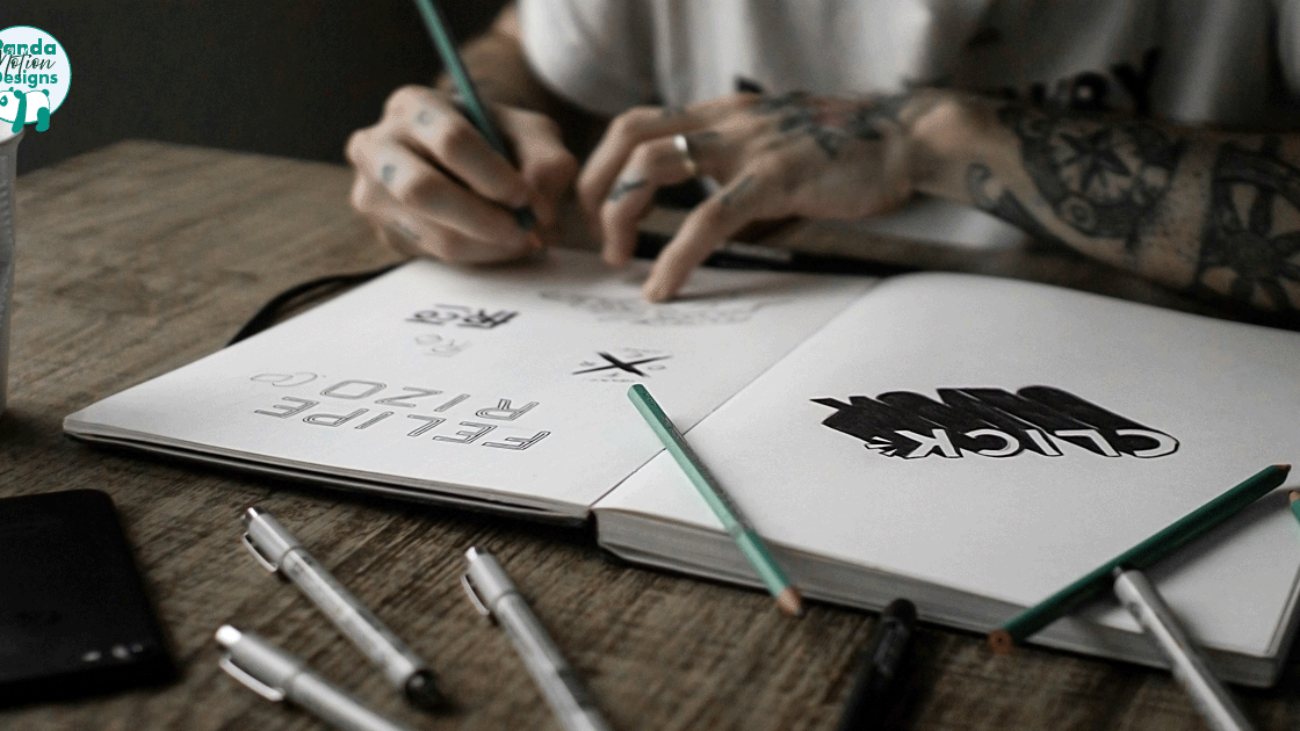
1. Design Work in Progress
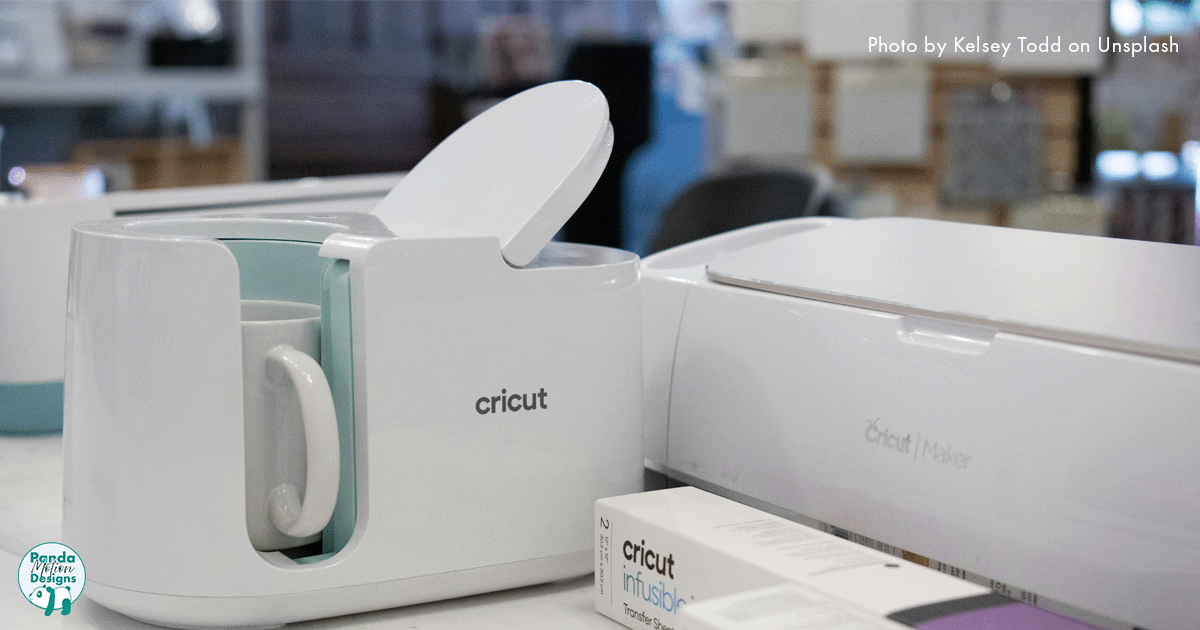
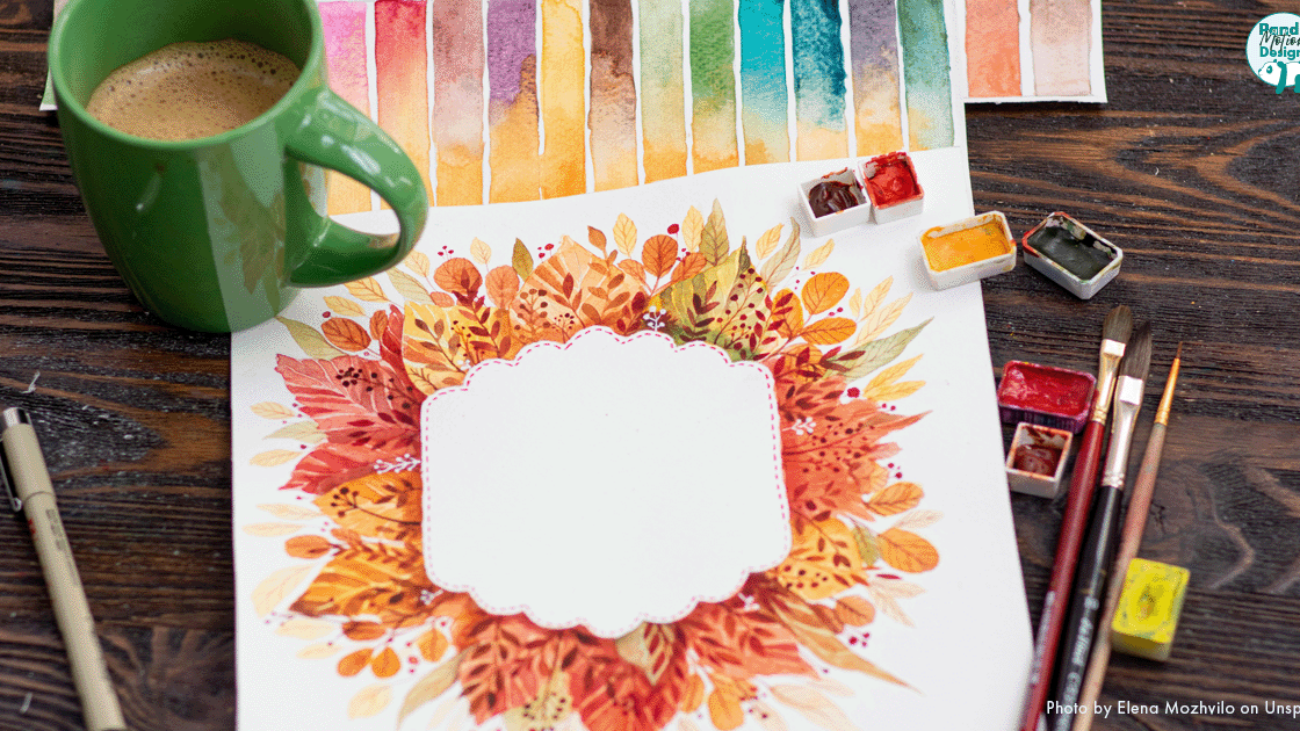
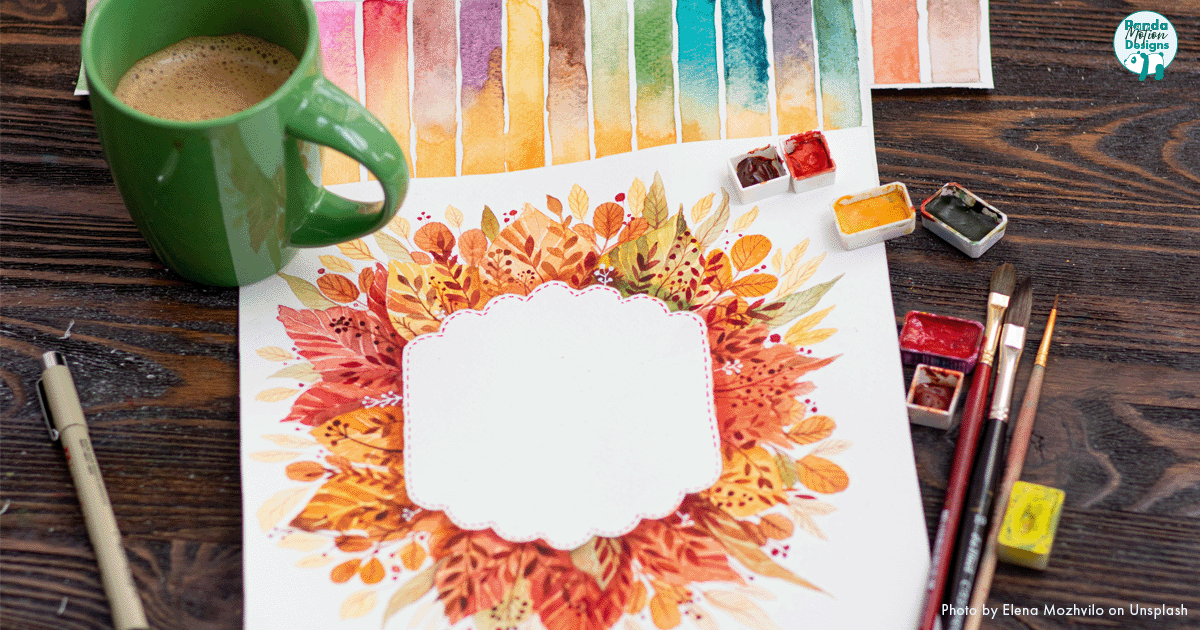
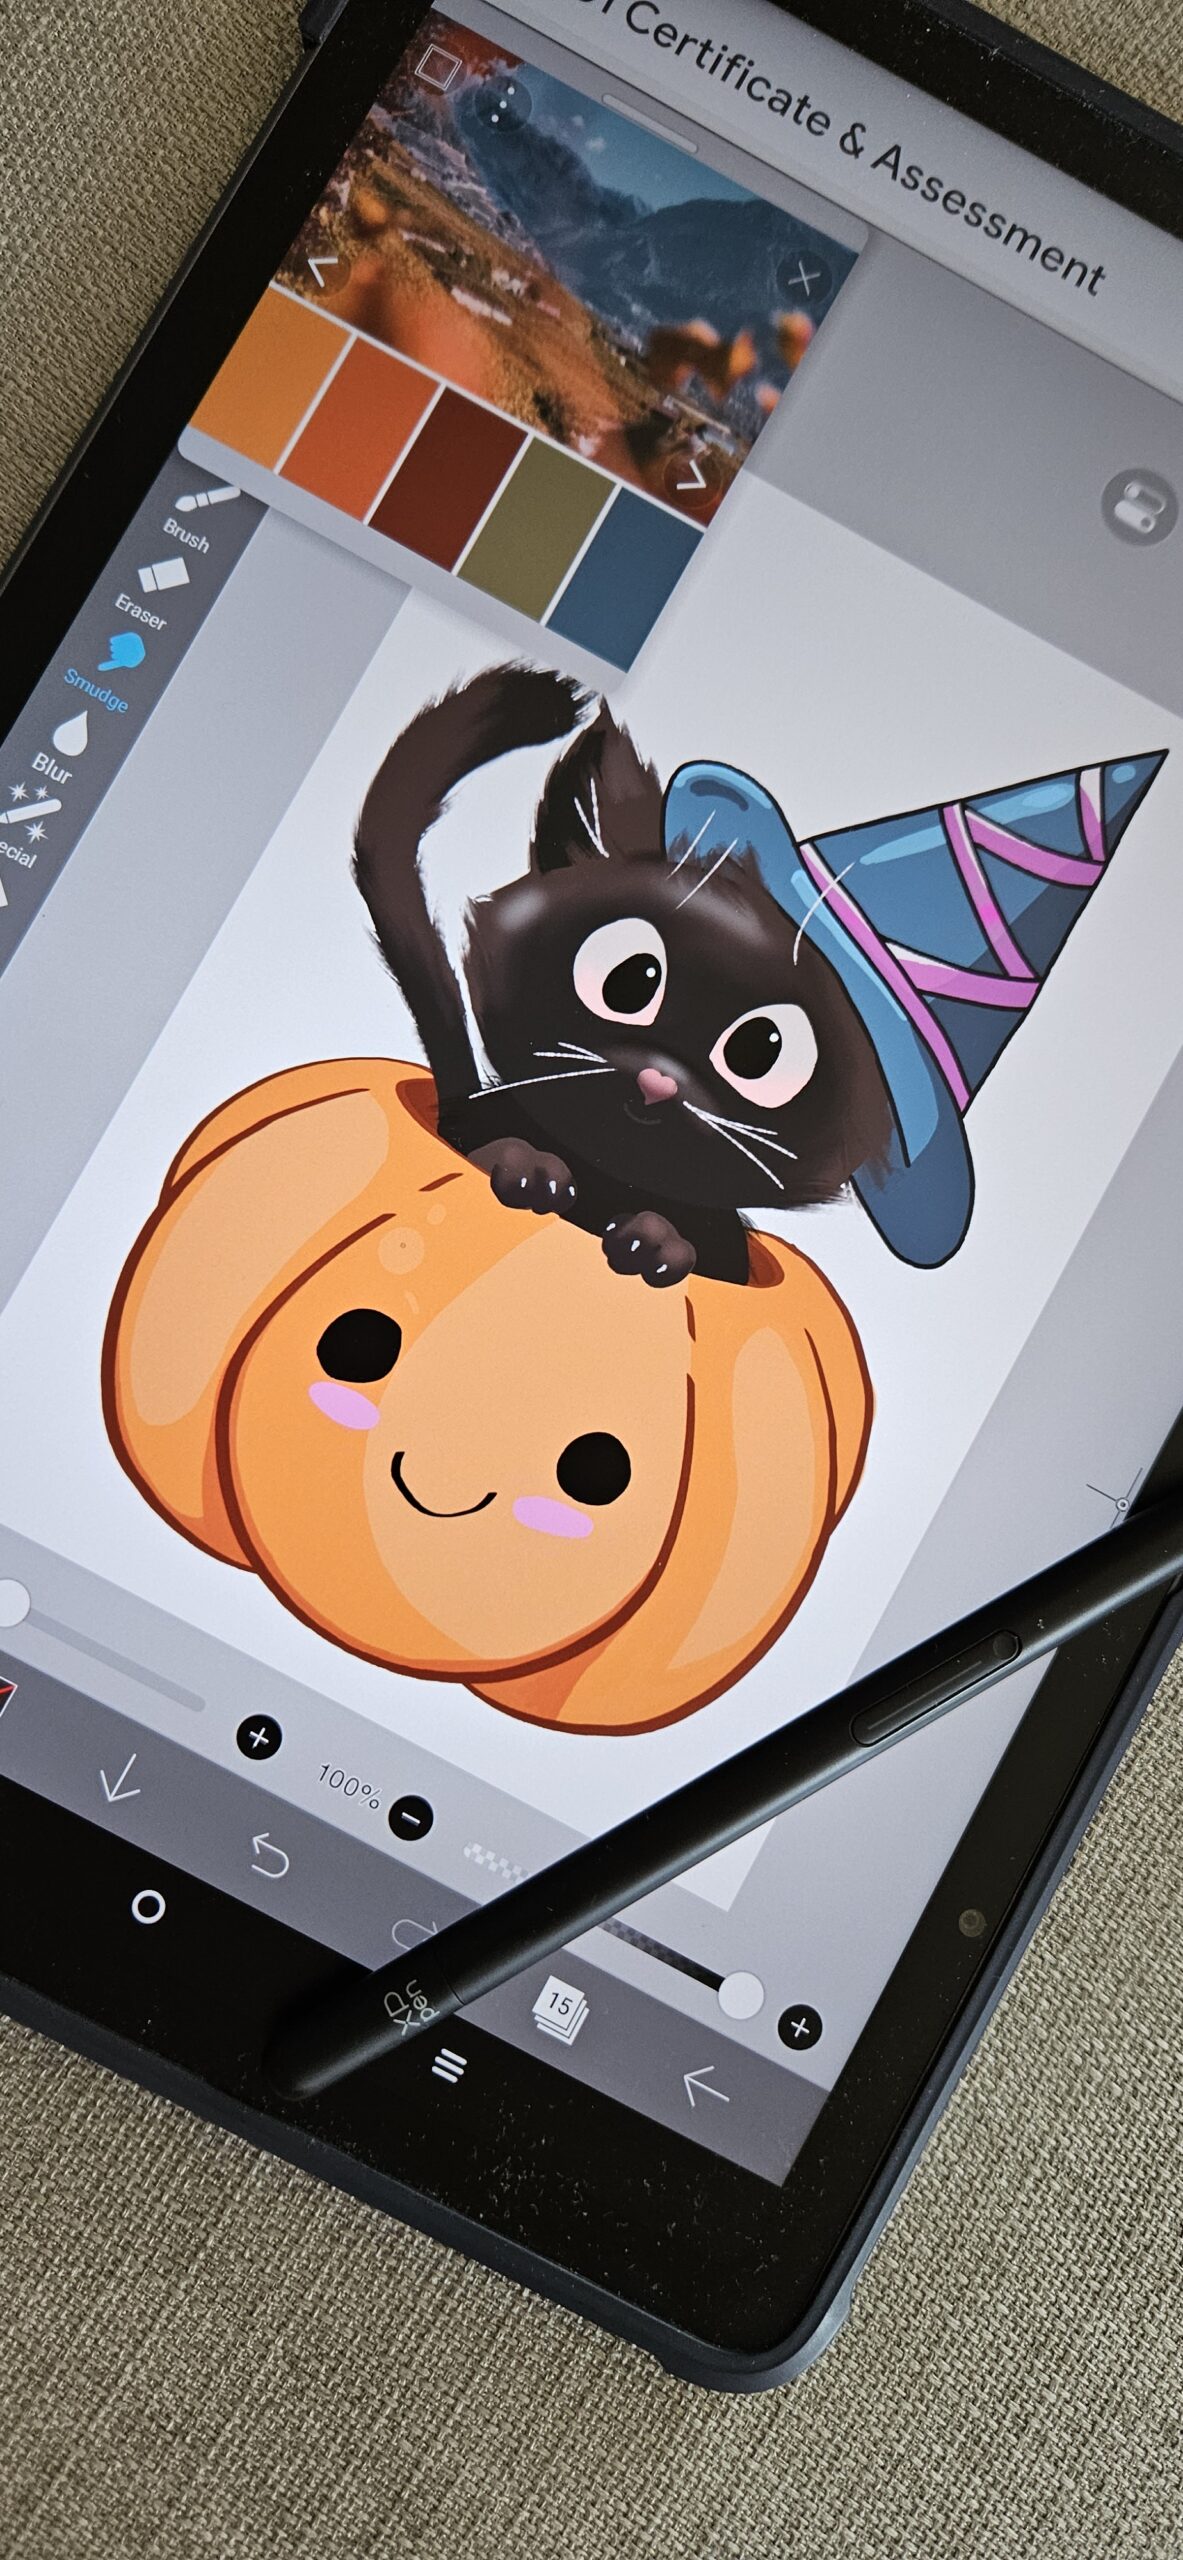
Most of the time, I start with the design itself. It might be a quick sketch in my notebook, a rough layout on my tablet, or even an early concept on Adobe Illustrator.
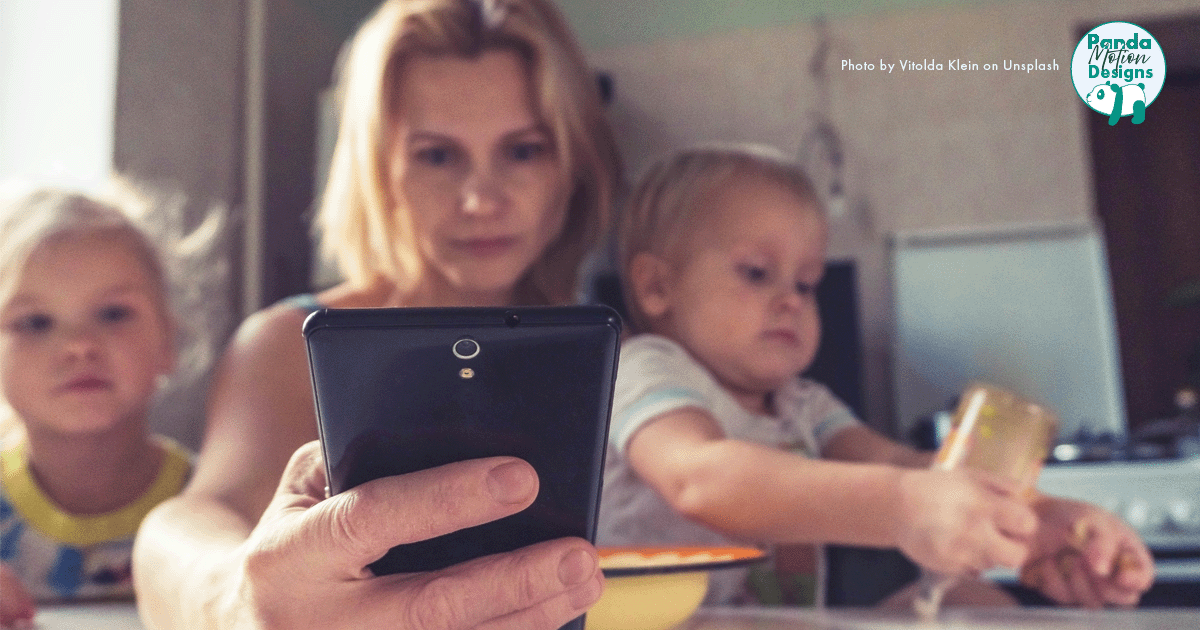
I usually begin promoting at this stage too. Sharing early progress on social media helps build engagement and interest before the product is even finished. WIP Wednesday is perfect for this—it comes around most weeks, and it’s a great excuse to show what you’re working on.
People love seeing how things are made. Process breakdowns, time-lapse videos, messy sketches—social media eats that up. It’s a simple way to attract more eyes to your brand while giving potential customers a behind-the-scenes look.
2. Design Update/Teaser
As the design changes and evolves, I like to share updates. It’s another chance to showcase the creative process, and honestly, people enjoy seeing the transformation from sketch to final product.
Most of the time, I use the #WIPWednesday tag, but I never force daily updates—they’re not necessary and they just add pressure. Taking your time means you can refine the design properly without feeling rushed.
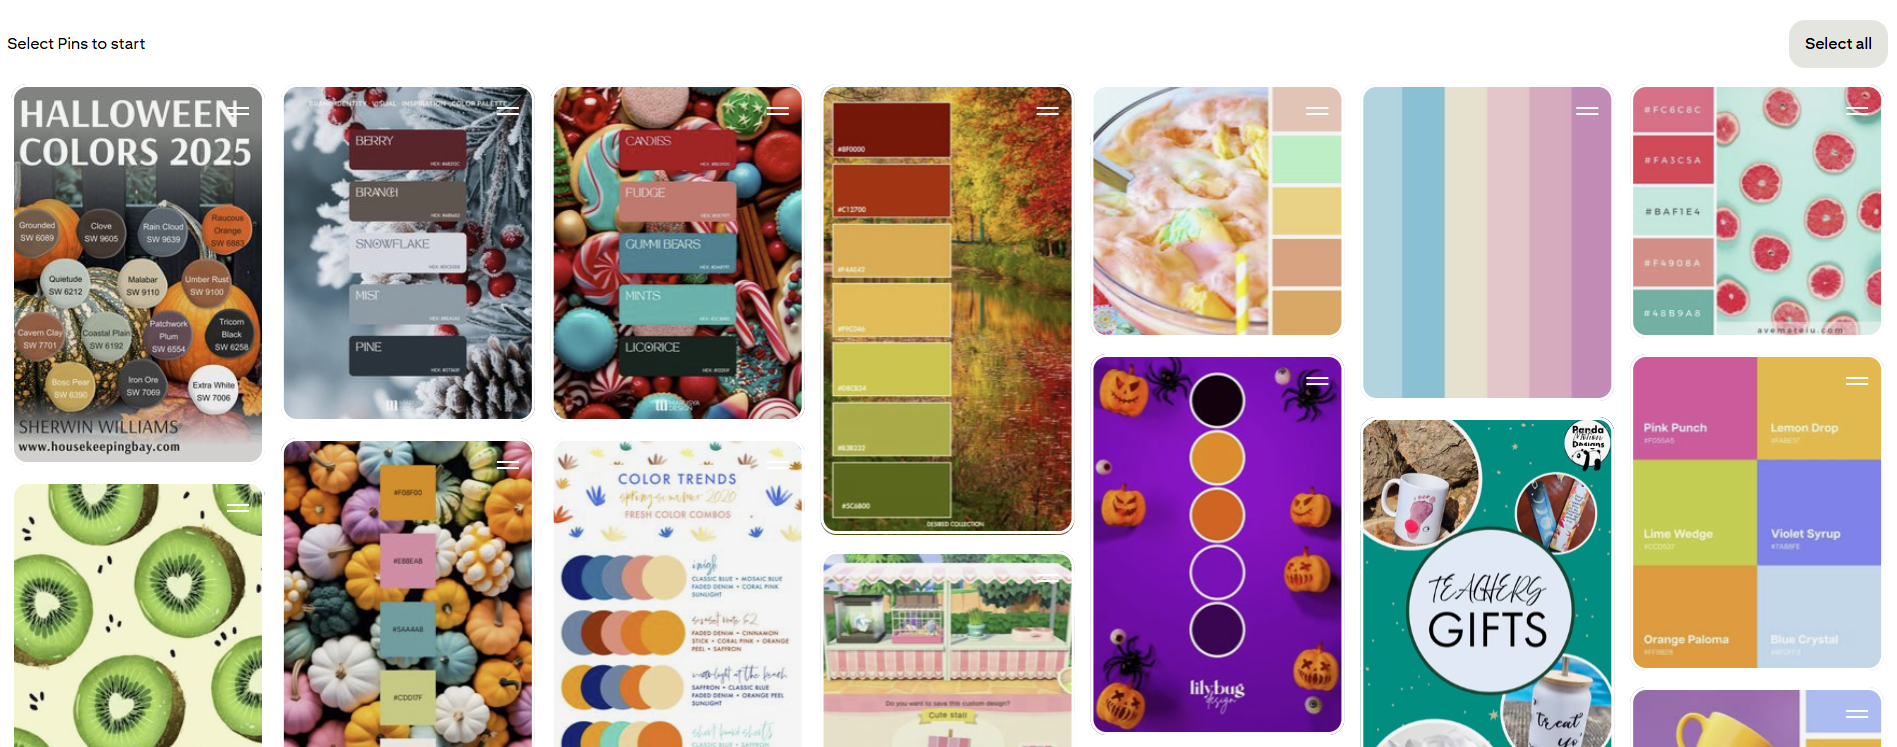
I also don’t set hard deadlines for my artwork. It keeps things calmer, more enjoyable, and ultimately gives me space to get things right. Testing designs on various products and sharing photos can also help customers imagine what they might want to buy.
3. Teaser
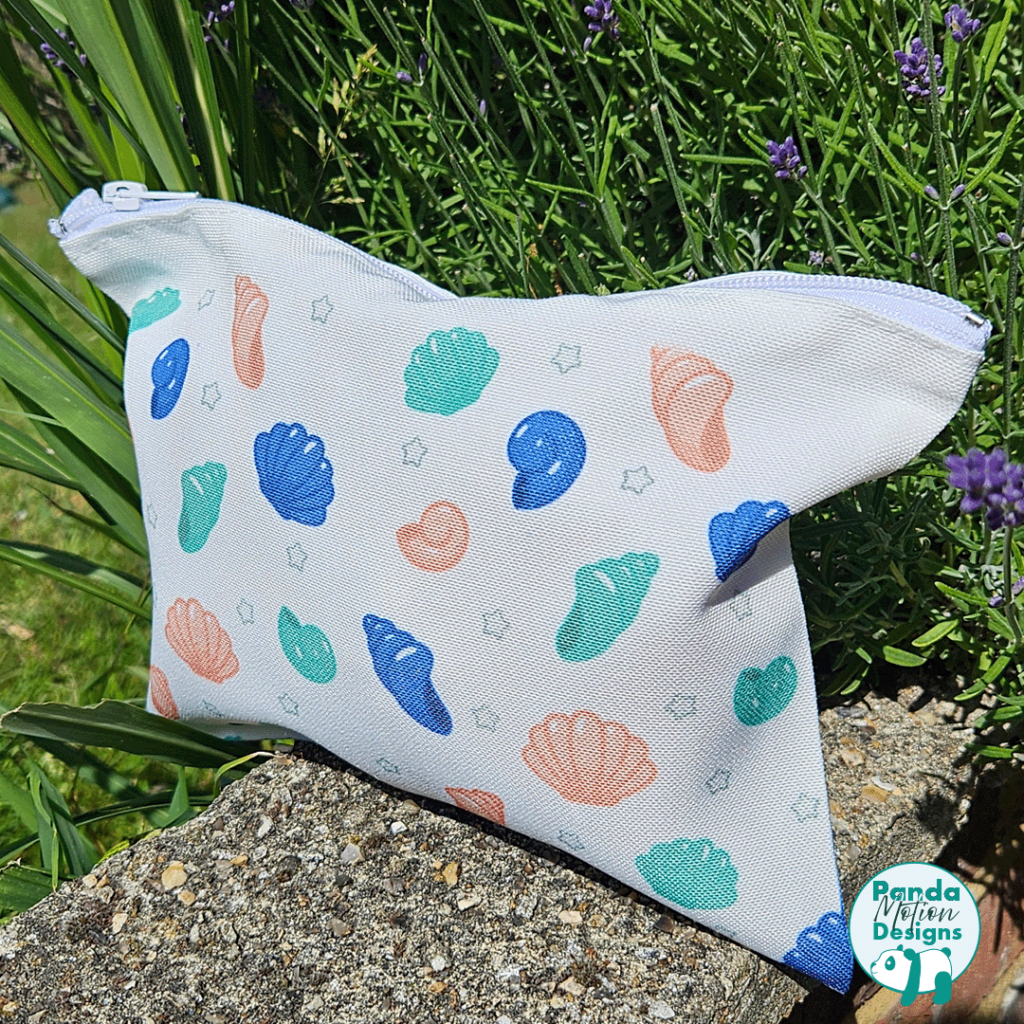
Once the design is refined and the product is ready, I share a little teaser—usually just a tiny snippet of the final piece. Often, it still has heat tape on it or is sitting next to the press, paired with a simple “coming soon…”
Adding a countdown can really help build excitement for release day. It gives people something to look forward to, and they’re more likely to return and place an order on launch day.
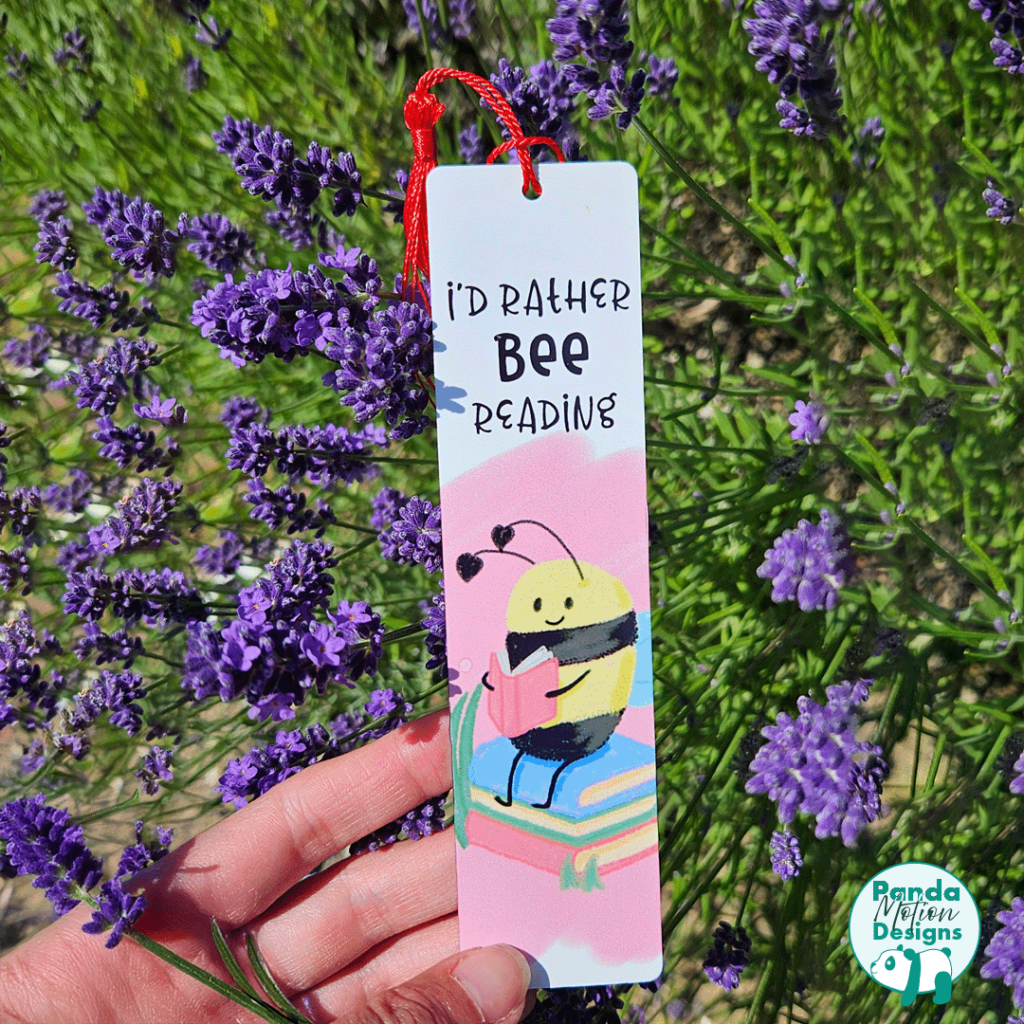
With my Witchy Cat design, there was so much early interest that I offered an early-access list with a special discount code. It wasn’t a huge list, but it was a great way to gauge the product’s potential popularity.
4. Final Release and Promo
And then we get to the final (slightly nerve-racking!) part: release day.
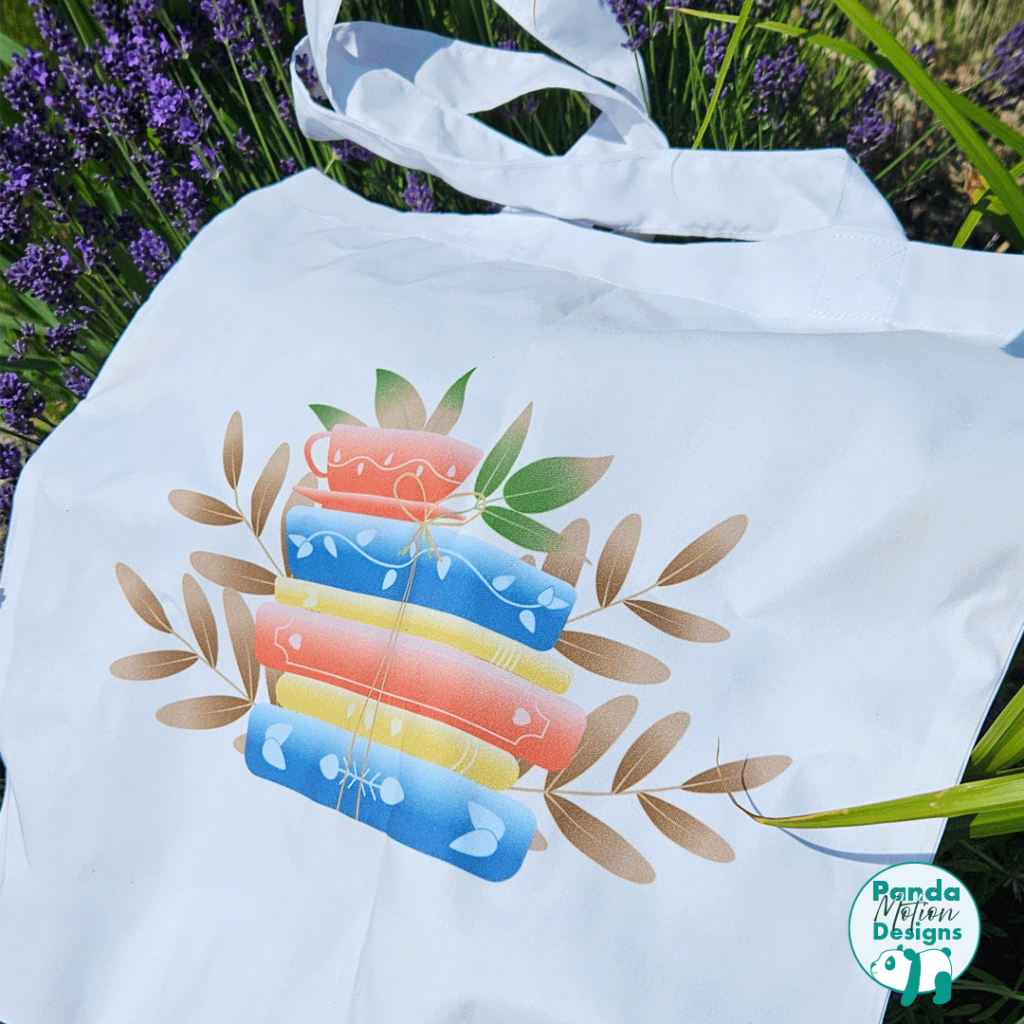
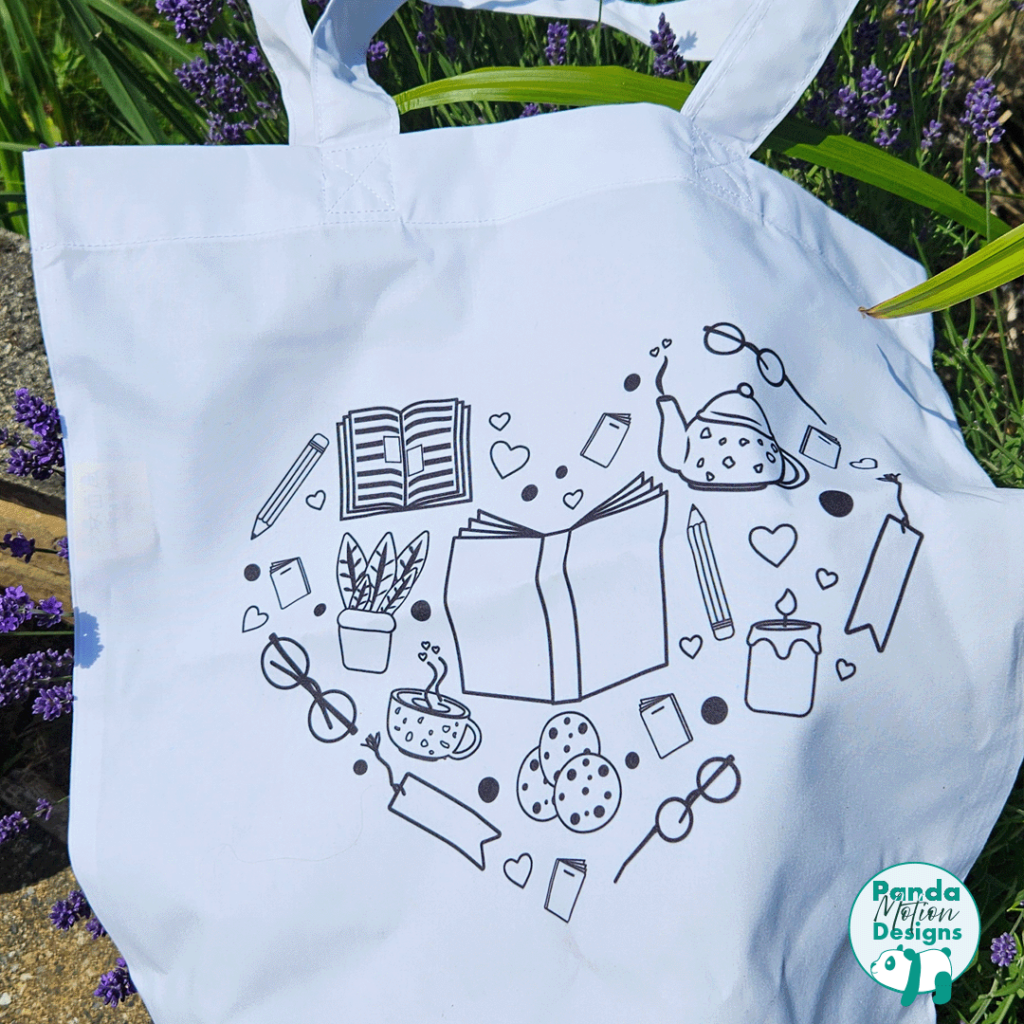
Your listing is live, your photos look great, your captions are ready—and it’s go time.
If you know when your audience is most active, try posting around that time to maximise your reach. I also like offering a small launch discount for a day or two to encourage those first sales.
Most importantly, share your creation proudly. You’ve put the work in—enjoy the moment!
Conclusion
Sometimes a product launch does not go to plan. It happens. Something you thought would be a good or even best seller ticks away quietly. It can be disheartening, especially after putting in so much time and effort into something you love.
However, don’t let that deter you!
Keep going. Get your designs out there and share them with the world. The small business community is amazing, and I have found so much support and cheerleaders who will support you for everything.
Well, I hope that gives you an idea of my thinking process when it comes to launching a new product. I have been doing this for nearly 4 years now, and I still get nervous about launching a new product or design.
It has its ups and downs. Some products receive an amazing response, while others elicit little to no response.
But to quote Chilli Heeler, “…Pick yourself up, dust yourself off and keep going!”
What do you think?
Leave a comment below, or feel free to follow me on social media. Why not check out my other blog posts?
Until next time…